
A few years ago I wanted to put the logo of my band on my kick drum but wasn’t thrilled with the idea of painting it. After giving it some thought I wondered if using permanent markers would do the trick. It did for me, so after using the same resonant head for 3-4 years I decided it was time for a change and figured I could document the process. So here is how I added my band’s logo to the new skin. But first things first:
I can’t be held responsible if you try this and mess up your kick drum resonator !
Try and draw on an old discarded drum skin first, it will give you an idea on how easy – or not – drawing a whole design will be. For example, the silver ink doesn’t always flow that well, on my first try I ended up with a few splotches that I had to disguise. These where caused by my (stupidly) shaking the marker directly over the drum skin, trying to get a better ink flow…
Be warned that the graphics can look a bit shabby close up but if you get the contours sharp enough once you step back it’s fine.
What you need:
- A kick drum resonator skin.
- Permanent markers of the color of your choice.
- A razor blade or cutter of some sort.
- Access to a printer.
- A file of the design you want to use.
Having already made the old resonator design this way I knew I wanted to use a silver permanent marker on a black drum skin, but I suspect (but haven’t tried) that you could just as well do a black – or colored if you know how to do that – design on a white drum skin.
The logo that my band uses is round and would have fitted perfectly on the drums skin. Unfortunately because I use a resonator with a hole in it I had to adjust the design to fit the surrounding space. I have a 18” kick and used 3 sheets of A4 sized paper (similar to a US letter size) to cover the surface. You may need 4 sheets or more to cover the skin of a larger sized kick drum.
In any case the design has to be printed at the exact size you want it to be so you probably want to use a photoshop like program to prepare the image. Keep in mind that you are making a stencil of your design and will be cutting out the parts that are to be drawn on the drum skin. So make sure you have a good idea of what you want before you start drawing, you can’t erase the permanent marker!
:P
Although I didn’t take as many images as I probably should of, hopefully the following images will explain the process better than I can write; don’t forget to read the captions.
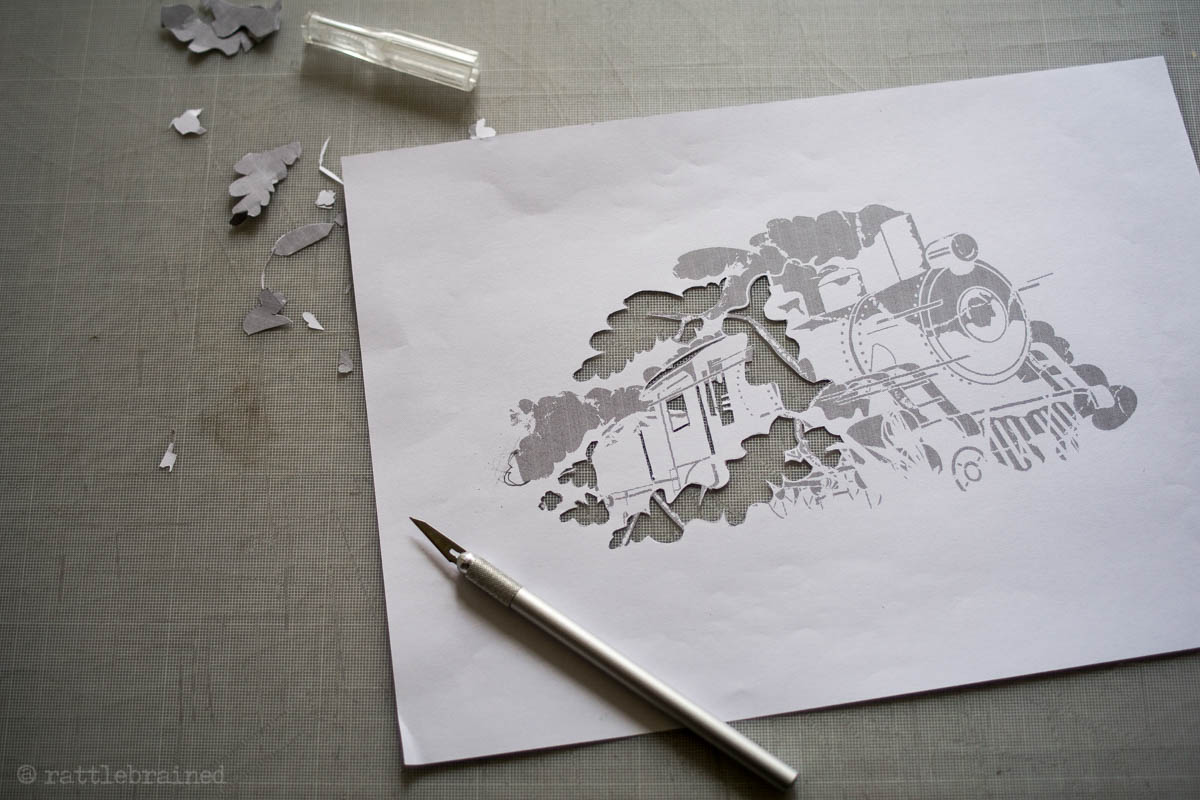
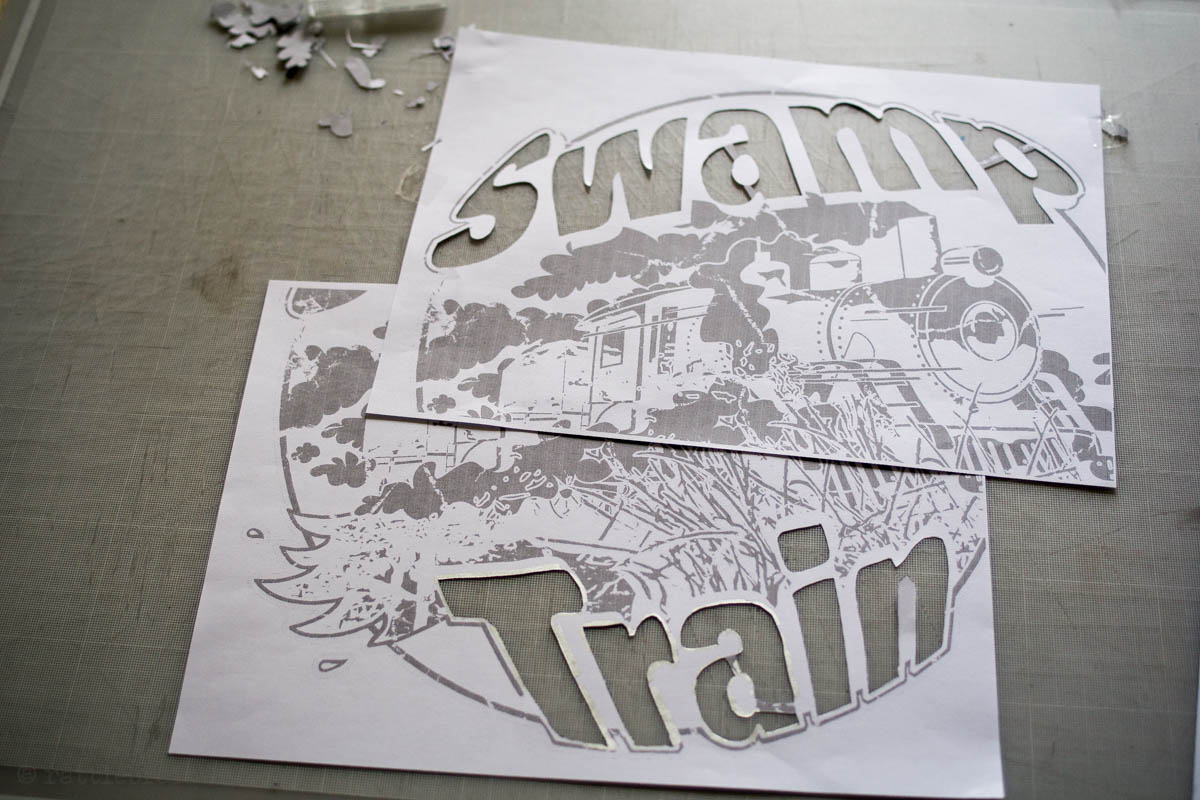
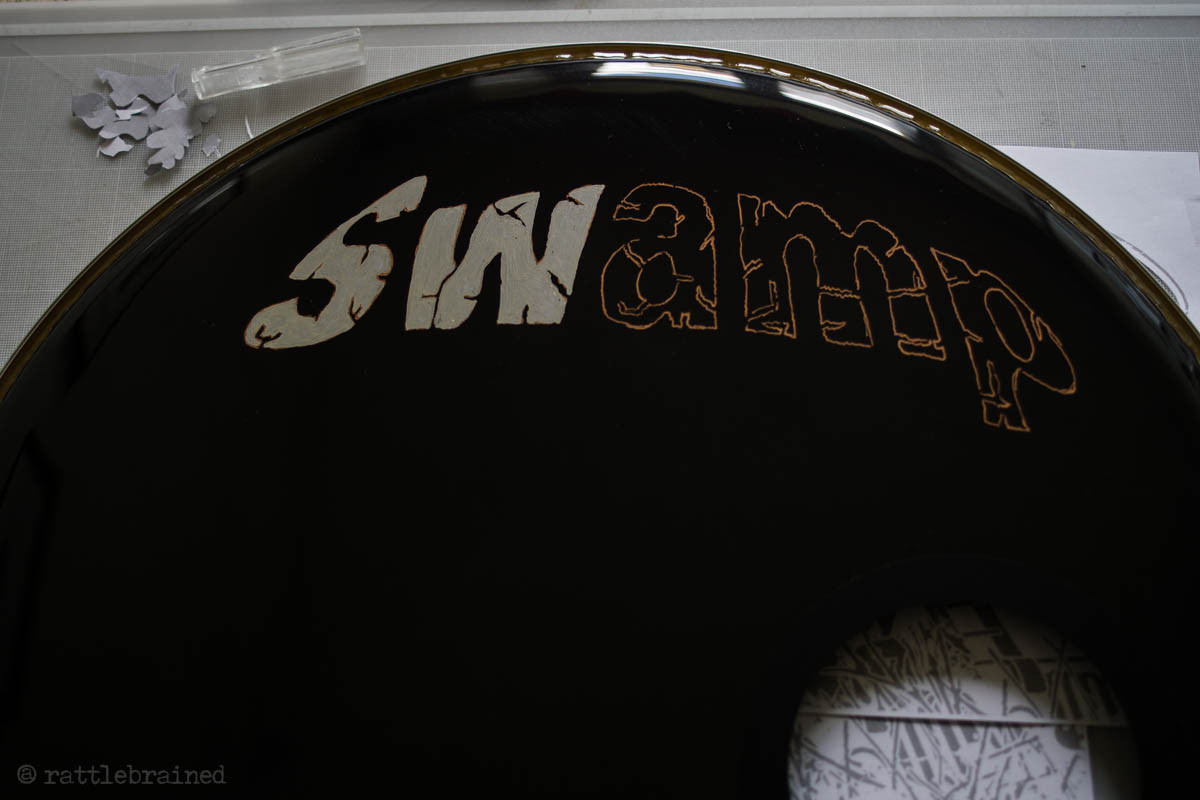
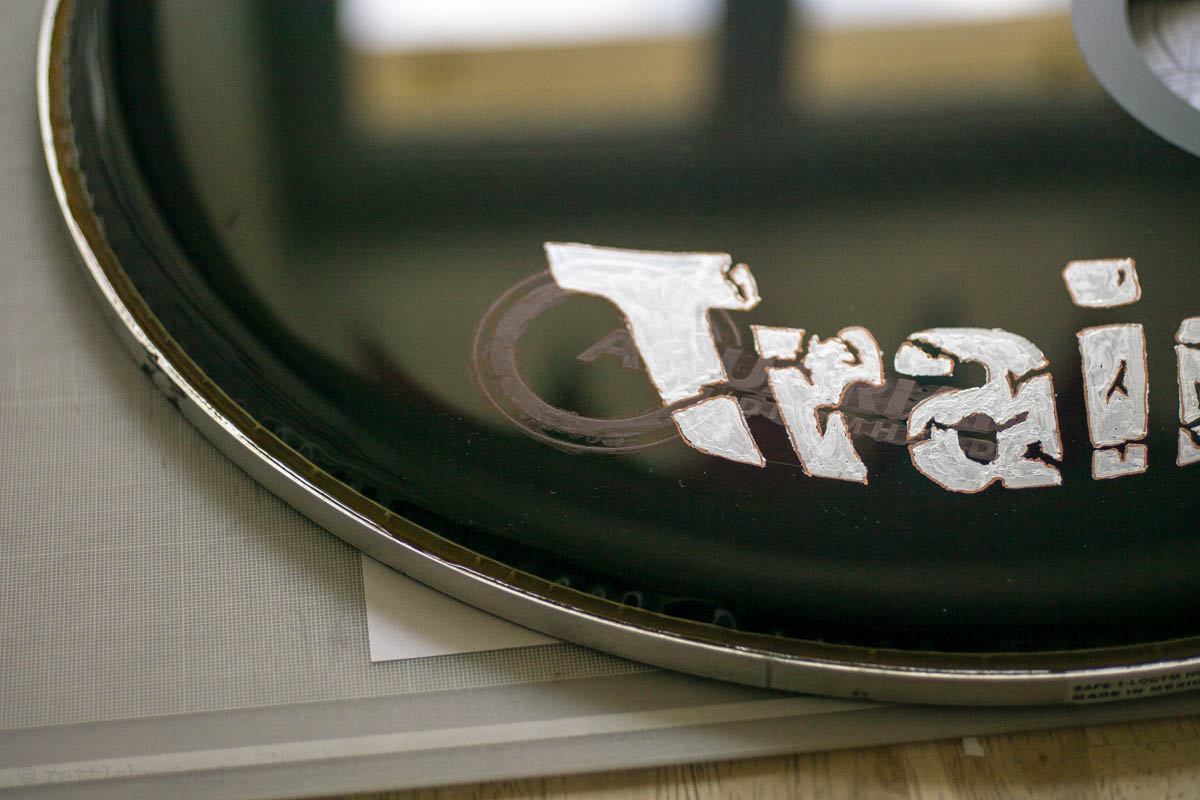
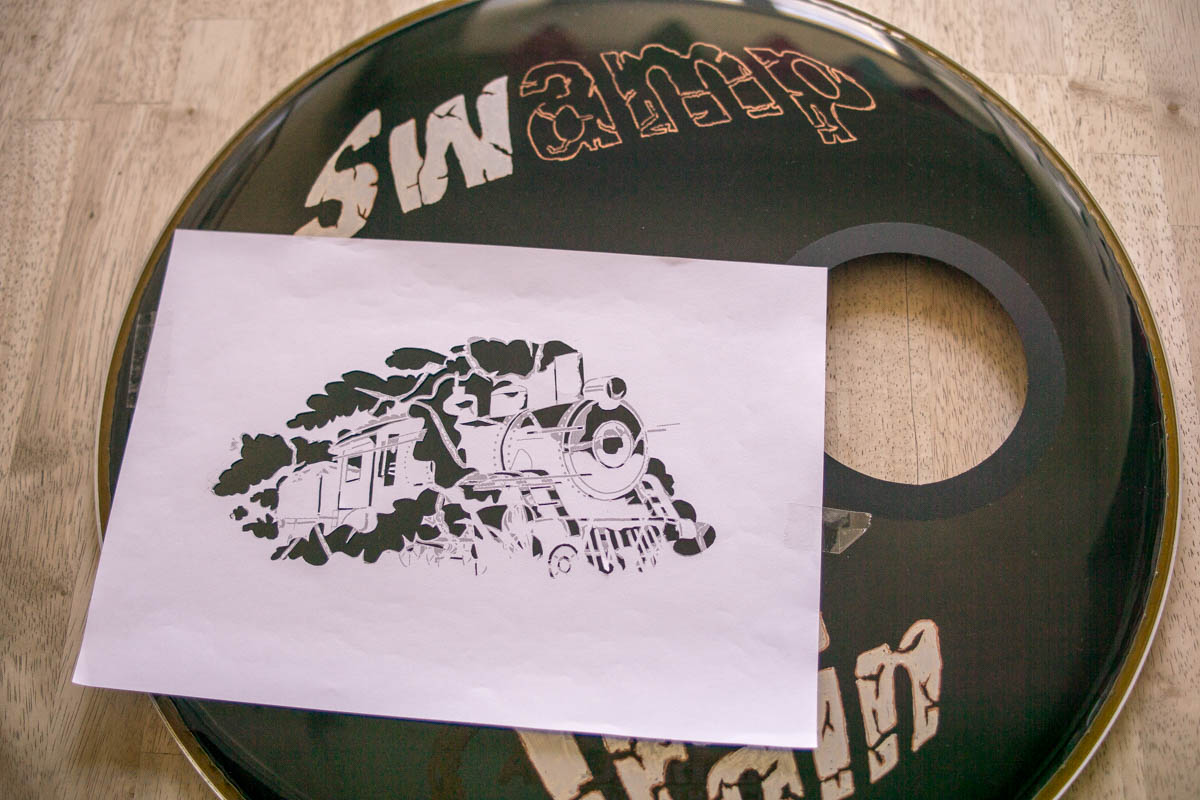
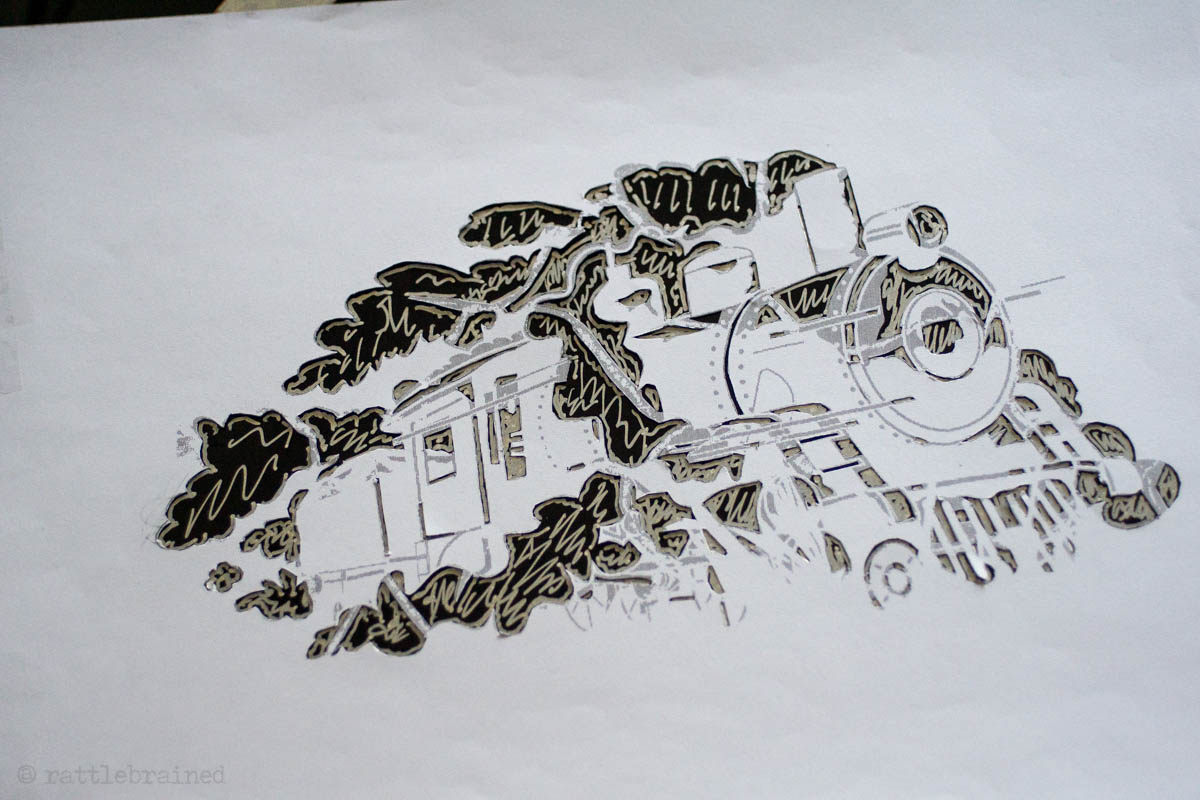
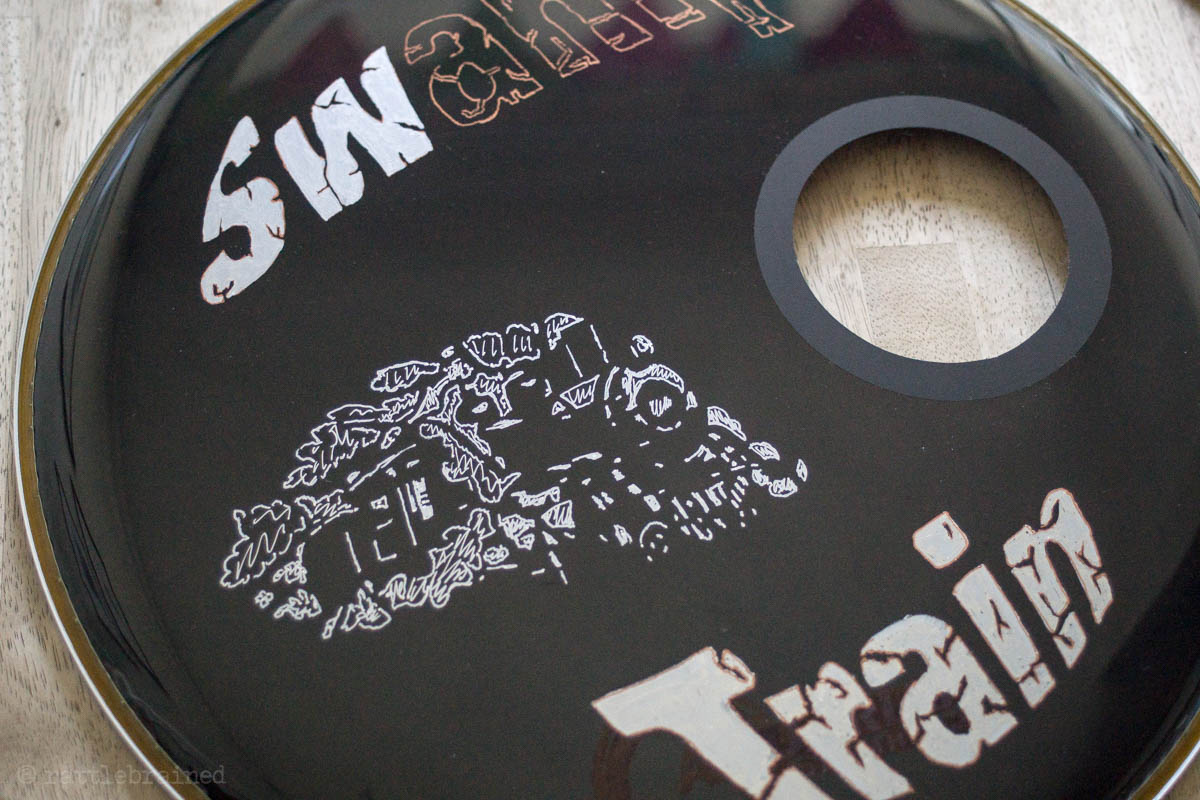



Initially I hesitated between a copper and silver colored marker which I bought together at my local supermarket. The silver was better for filling in the surfaces but even so I also ended up buying a silver marker with a very thick tip to speed thing up.
As you can see I divided the design into three elements, printed each one on a sheet of paper and then cut them out with a cutter. The stencils just gave me the basic outlines so I had a printed example of the design alongside to view the details to be drawn freehand. For instance I wanted a “cracked” effect so I drew them in right away.
The steam engine had a lot of small details which were difficult to cut out so I ended up only cutting out the main details and drawing in the rest afterward. When that was finished I still felt the design lacked presence so I drew in a background of clouds and textures. I then used a cymbal to trace the circle that surrounds the design.
Has this changed the sound of the drum? Not that I can tell. I hope this will give you ideas for putting your own design on your kick drum. Don’t hesitate to comment if you have questions.
27 August 2025, 09:31
Looks sick, gonna give this a try.